How To Create a Webflow CMS Filter System

With more and more marketing teams choosing Webflow as their weapon of choice, there is obviously a bigger demand for Webflow no-code solutions that go beyond what's natively possible within the designer. The main reason big companies migrate to Webflow is to leverage its simple CMS to push out new content faster and easier than ever before. The problem starts when a company that has a large number of posts (let's say over 500) wants to make it easy for visitors to find exactly what they want. As we all know, Webflow (currently) does not offer a filtering system that can sort blog posts by their categories with the press of a button.
This is where you have to use no-code tools such as Finsweet Attributes to achieve this kind of function. Luckily for us, most of their products are free and simple to set up within Webflow. So let's learn how to properly implement this awesome no-code solution!
What is Finsweet?
Finsweet is a Webflow agency led by a talented and ambitious CEO, Joe Krug, that focuses on building websites, no-code solutions, and an awesome community! Their Javascript functionality library, also called Attributes by Finsweet, has been helping no-code developers achieve amazing functionalities within Webflow that weren't previously possible unless you were a talented Javascript developer (which most Webflow developers are not). Their current library consists of over 35+ no-code solutions, and their attributes page has over 200 million loads per month.

Their current library consists of over 35+ no-code solutions, and their attributes page has over 200 million loads per month.
What is Webflow CMS Filter?
Webflow CMS filter solution by Finsweet enables you to create a filtering system for your blog, case studies or virtually anything that you'd like to sort within Webflow project. Because it's officially a no-code solution, you don't need to have any Javascript knowledge in order to implement this into your project.
In short, you can create this filter with four steps:
- Create CMS collections for blog and categories
- Add collection list to the project
- Add a form to the project (CMS filter works with form elements)
- Copy-paste attribute values from Finsweet documentation
How to implement Webflow CMS filter
Implementing a Webflow CMS filter system using Finsweet Attributes is pretty straightforward. Before you begin with anything, copy-paste the following script into your <head> code:
<!-- [Attributes by Finsweet] CMS Filter -->
<script async src="https://cdn.jsdelivr.net/npm/@finsweet/attributes-cmsfilter@1/cmsfilter.js"></script>
Now, let's start with summary:
- Create a main CMS collection (e.g Blog, Case Studies etc.)
- Create a category CMS collection (e.g Blog Categories)
- In main CMS collection, add a reference field and connect it with category CMS collection
- Save your collections (PS. make sure to have these CMS collections populated before implementing filtering)
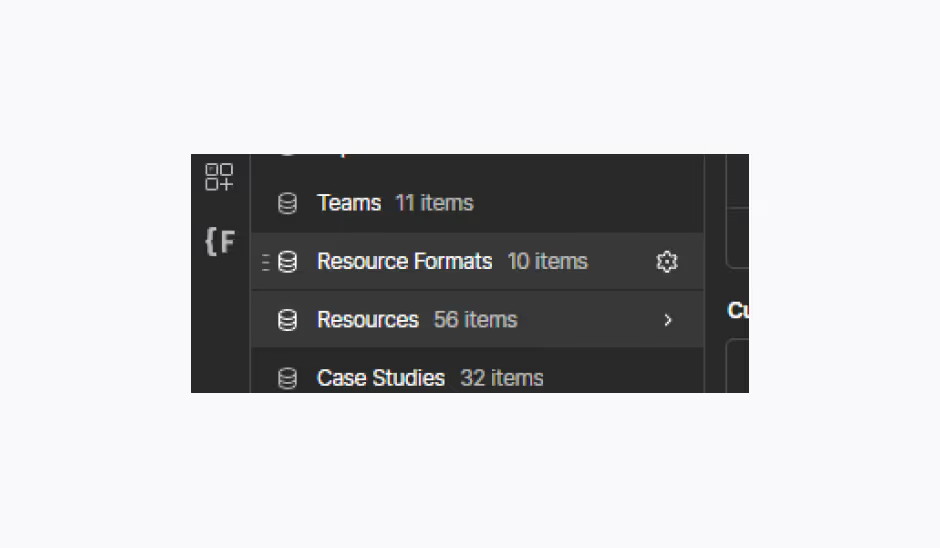
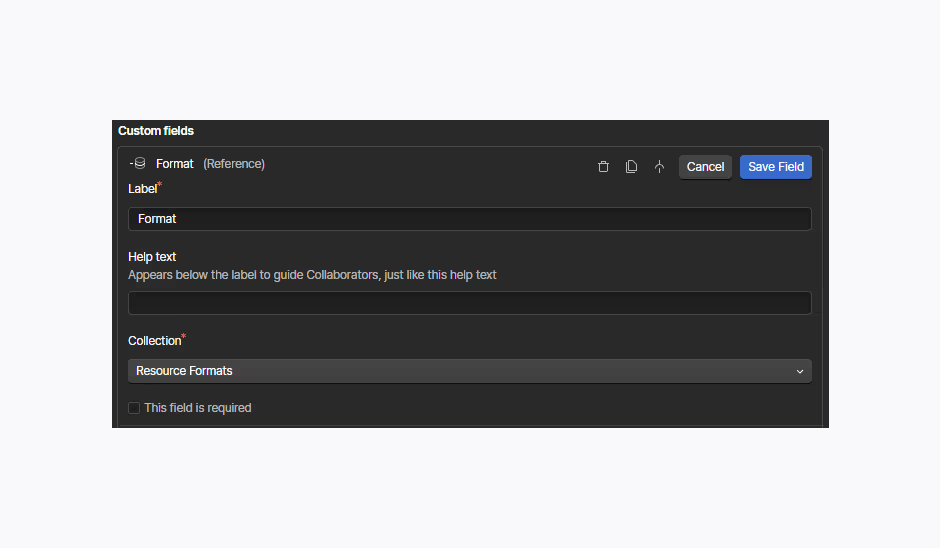
Step 1: Add a collection list
The first thing, obviously, is adding a collection list to the canvas. This will be your main CMS collection (e.g Blog) which you will filter.
- Drag a Collection List element onto the canvas
- Double click on it to connect it with your CMS collection
- Style the Collection Item according to your needs.
It's very important to add a text block and connect it with the reference category inside this collection list. See images below


Step 2: Add a form for CMS filter
Webflow CMS filter system by Finsweet works with Webflow form element. It's very important that all the form elements are placed within form div in order for filters to work. It's also worth noting that you can only use one form!
Let's add a form correctly into your project:
- Drag a form block element onto the canvas (You can delete everything from from inside Form div block and start anew)
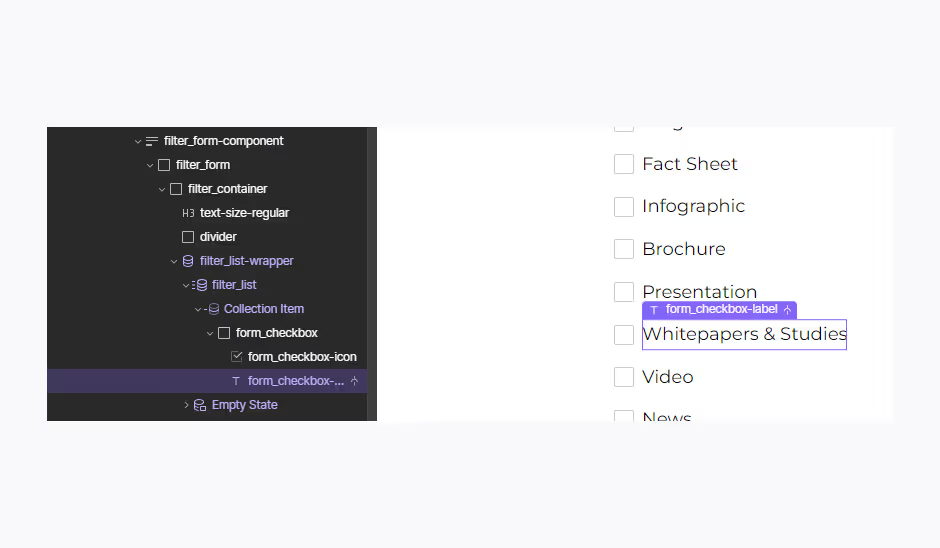
- Inside the Form div block, add a collection list and connect it with category collection
- Finally, inside the Collection Item, drag a form element (e.g checkbox, radio button)
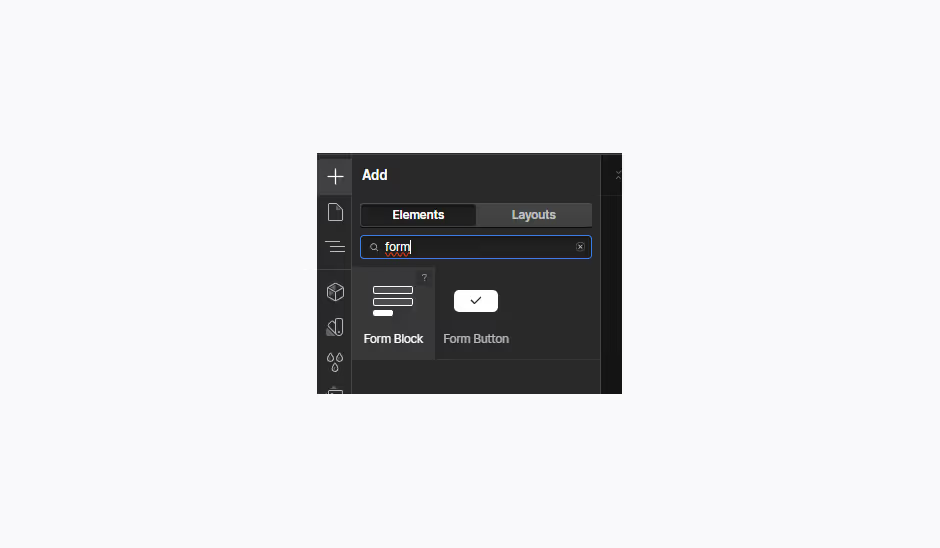
Step 3: Copy-paste attributes
Here comes the fun part! All you have to do now is to add some custom attributes to the elements that you will simply copy-paste.
- Add attributes to the main collection list
- Add attributes to the form component
- Add attributes to the text blocks inside filter and collection list
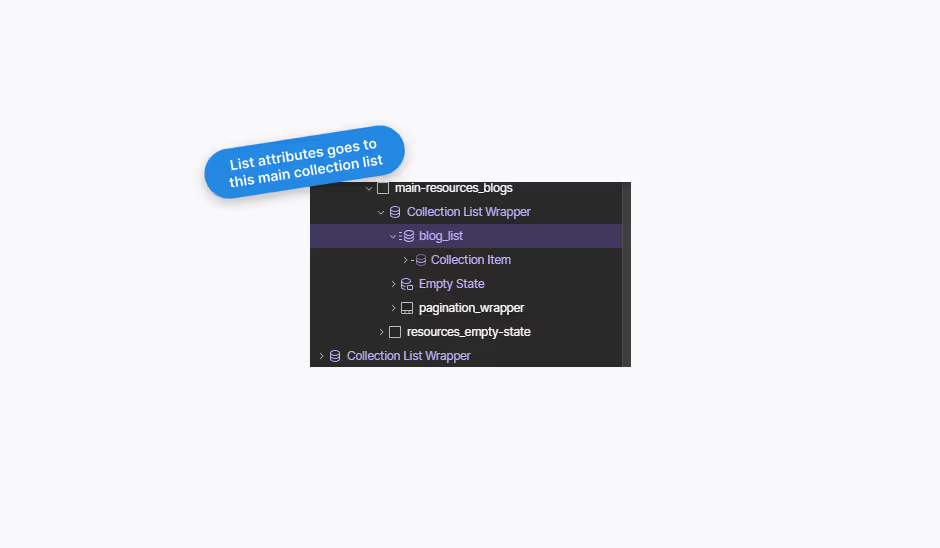
Adding attribute to main collection list
NAME: fs-cmsfilter-element
VALUE: list
Copy these name & value attributes and paste them into the custom attributes of the collection list (Collection List, not Collection List Wrapper)
Adding attributes to form
NAME: fs-cmsfilter-element
VALUE: filters
Now copy paste these attributes onto the form component. It doesn't matter if you paste attributes to the Form Component or Form - both will work.
Adding attributes to text blocks
NAME: fs-cmsfilter-field
VALUE: your identifier here
These attributes you have to add to the form label (see image above) and also to the text block from step 1 that is inside your main collection list.
Regarding the value of the attribute, it doesn't matter how you name it, as long as it's same on the both instances. This ensures that filter can match the attribute value with the value from inside the main collection list you'd like to filter.


Conclusion
There you have it, you created a complex Webflow CMS filtering system without using any code at all. Don't worry if this looks overwhelming to you; I know it did to me! Once you get the hang of it, you will be implementing CMS filtering systems fast and efficiently in all your projects!
Want more options inside the filter? Check out Finsweet CMS Filter documentation for TONS of customizations

Need help with Webflow?
I'm always ready to work on your next big thing, hit me up!


